Last Updated on February 16, 2024 by AwesomeChickens
Table of Contents
Introduction
Embarking on the journey of raising chickens involves more than just providing a coop; it’s about giving your feathered companions a space to stretch their wings, peck at the ground, and enjoy the outdoors safely. DIY chicken runs are the perfect addition to your poultry setup, offering a secure environment for your chickens to roam freely. In this step-by-step guide, we’ll walk you through the process of creating your DIY chicken run, ensuring that it meets the needs of your flock while staying within a reasonable budget.
Step 1: Planning Your Chicken Run
Assessing Space and Size
Before diving into construction, evaluate the available space for your chicken run. Consider the number of chickens you have and how much space each chicken needs for a comfortable range of movement. Ideally, each chicken should have at least 8 to 10 square feet of space within the run.
Sketching the Design
Once you’ve determined the size, sketch a simple design that includes the dimensions, placement of the gate, and any additional features you want to incorporate, such as perches, dust baths, or a covered area. This sketch will serve as your blueprint throughout the construction process.
Step 2: Gathering Materials
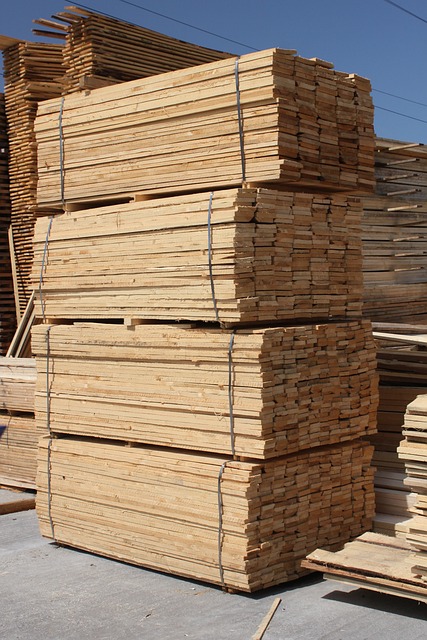
Lumber for Framing
For the frame of your chicken run, you’ll need lumber. The type of lumber you choose depends on factors like durability and cost. Pressure-treated lumber is a common choice due to its resistance to decay.
Fencing Material
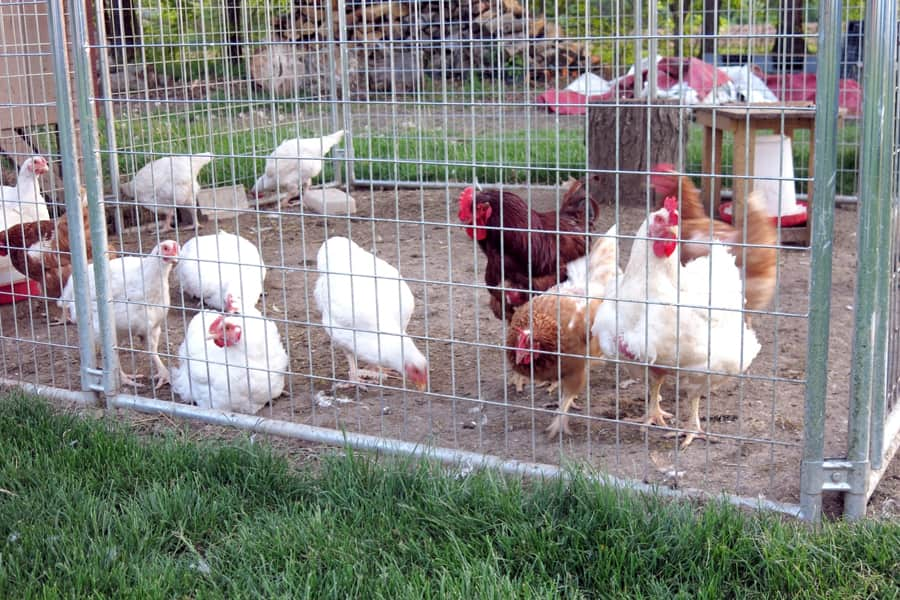
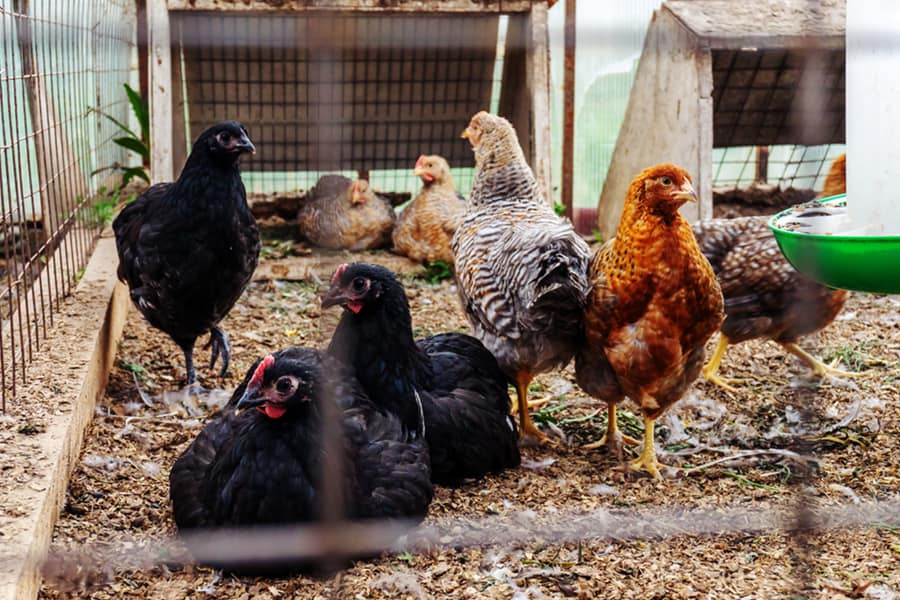
Select a suitable fencing material to enclose the run. Chicken wire or hardware cloth are popular choices. Chicken wire is more budget-friendly, but hardware cloth provides better protection against predators. Choose a gauge that is sturdy enough to withstand external forces.
Roofing Material (Optional)
If you want to shelter your chickens from rain or intense sunlight, consider adding a roof to your chicken run. Corrugated plastic, metal roofing, or even a simple tarp can be used.
Gate and Fasteners
Ensure you have a secure gate for easy access to the chicken run. Additionally, gather screws, nails, or other fasteners needed for assembling the frame and attaching the fencing.
Step 3: Building the Frame
Setting Corner Posts
Begin by setting corner posts at each corner of the planned chicken run. Use a level to ensure they are upright, and dig holes deep enough for stability. If you’re concerned about predators digging underneath, consider burying the posts a few inches into the ground.
Adding Horizontal Beams
Connect the corner posts with horizontal beams to create the frame. These beams will provide stability to the structure. Space them evenly along the length of the run, ensuring a sturdy foundation.
Attaching Vertical Supports
Add vertical supports at regular intervals between the corner posts and horizontal beams to reinforce the frame. This step is crucial for preventing the frame from sagging over time.
Step 4: Attaching Fencing
Choosing the Right Fencing Height
Determine the desired height of your fencing based on the size of your chickens and potential predators in your area. A height of 6 feet is a standard recommendation for chicken runs.
Securing Fencing Material
Attach the fencing material to the frame, ensuring it is securely fastened. Use staples, screws, or other appropriate fasteners to secure the fencing. Pull the material taut to prevent sagging.
Burying Fencing
To prevent predators from digging underneath the fencing, bury it a few inches into the ground. This discourages digging attempts and adds an extra layer of security.
Step 5: Adding a Roof (Optional)
Choosing the Roofing Material
If you opt for a roof, choose a suitable roofing material. Corrugated plastic panels, metal roofing, or a tarp can protect from rain and sun. Ensure that the roofing material is securely attached to the frame.
Installing the Roof
Attach the roofing material according to your design. For slanted roofs, ensure proper drainage to prevent water accumulation. A well-designed roof protects your chickens from the elements, promoting their health and comfort.
Step 6: Installing the Gate
Choosing a Secure Gate
Select a gate that is secure and predator-proof. Ensure that the gate closes tightly to prevent any unwanted visitors. A latch or lock mechanism adds an extra layer of security.
Installing the Gate
Attach the gate to the frame, ensuring it swings open and closes smoothly. Test the latch or lock to ensure it functions properly. The gate should provide easy feeding, cleaning, and general maintenance access.
Step 7: Enhancing the Chicken Run
Adding Perches and Enrichment
Add perches, dust baths, and other enrichments within the run to create a stimulating environment for your chickens. Perches allow chickens to roost and observe their surroundings, while dust baths help them maintain healthy feathers.
Providing Shade and Shelter
If your chicken run doesn’t have a roof, consider adding shaded areas using tarps or fabric. Providing shelter within the run allows chickens to retreat from rain or direct sunlight.
Regular Maintenance
Once your DIY chicken run is complete, establish a routine for regular maintenance. This includes cleaning, checking for wear and tear, and ensuring the fencing remains secure. Regular maintenance contributes to the chicken run’s longevity and your chickens’ well-being.
Conclusion
Building a DIY chicken run is a rewarding endeavor that enhances your chickens’ quality of life and allows you to customize the space to meet their specific needs. Following these step-by-step instructions, you can create an ideal home for your feathered friends while staying within a reasonable budget. Whether you’re a seasoned DIY enthusiast or a novice, the satisfaction of seeing your chickens thrive in a space you’ve crafted with care is truly priceless. Start your DIY chicken run project today and provide your chickens with a safe and enjoyable outdoor environment.
BONUS: DIY 10′ x 8′ Chicken Run Shopping List:
Lumber:
- 8 pieces of 4×4 treated lumber (8 feet each)
- 6 pieces of 2×4 treated lumber (10 feet each)
- 4 pieces of 2×4 treated lumber (8 feet each)
- 12 pieces of 1×4 treated lumber (8 feet each)
Fencing and Chicken Wire:
- 4-foot high chicken wire roll (sufficient length for the perimeter)
- 8-foot high chicken wire roll (for the roof)
Roofing:
- Translucent poly roofing panels (quantity depends on the size of panels available)
Fasteners and Hardware:
- Wood screws (various sizes)
- Nails
- Gate latch
- Hinges for the gate
Tools:
- Circular saw
- Power drill with bits
- Level
- Tape measure
- Post hole digger
- Shovel
- Staple gun
- Hammer
- Screwdriver
- Ladder