Last Updated on February 5, 2024 by AwesomeChickens
Raising chicks from hatchlings to fully feathered hens or roosters is a process that requires careful attention and specific care at each stage of their development. In the initial weeks of a chick’s life, they are particularly vulnerable and depend entirely on their caregivers for warmth, food, and protection. As these young birds grow, their needs change rapidly, and it’s vital for poultry keepers to be aware of these shifts to ensure the health and vitality of their flock.
Week by week, the development of chicks follows a fairly predictable pattern, from their initial emergence from the egg to the point at which they are ready to join the general poultry population. Caregivers must monitor their growth, adjust their diet, and gradually acclimate them to living outside the brooder. Alongside the physical growth, observing behavioral changes and social dynamics within the brood can provide insight into their overall well-being and can indicate when interventions might be necessary.
Understanding the nuances of each developmental stage is key to successfully raising chicks. The appropriate temperature settings, the transition from starter feed to grower feed, and the timing for introducing them to the outdoors are all critical elements that can impact their survival and growth. Engaging with these birds during their early weeks also establishes a foundation for their future interaction with humans and other animals in their environment.
Table of Contents
Setting Up the Brooder
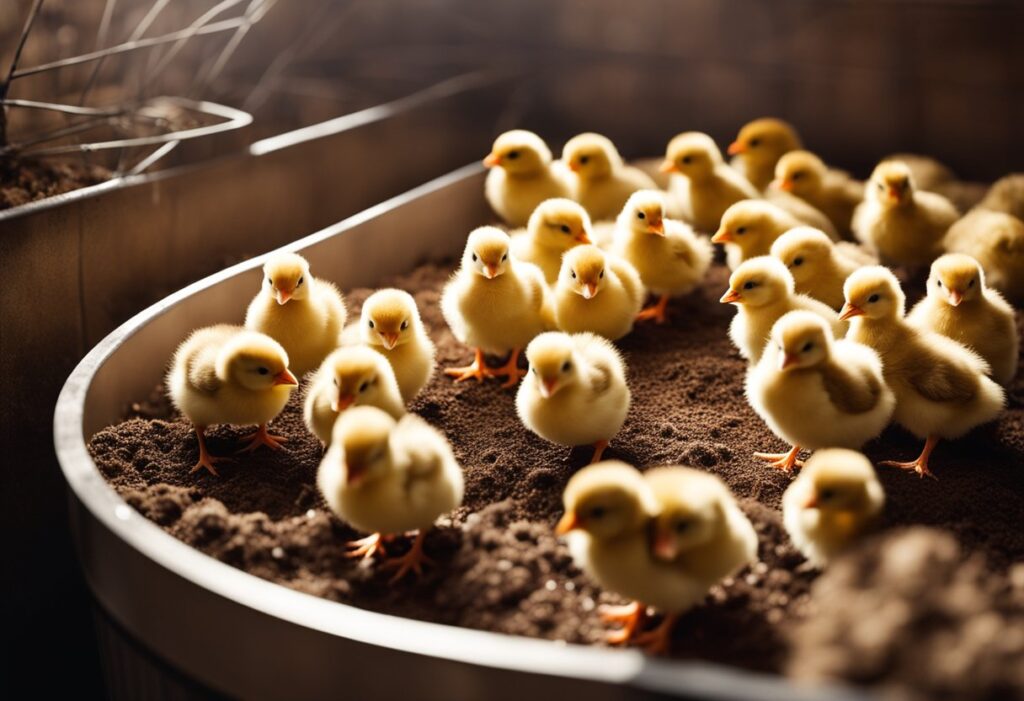
Before chicks arrive, one must set up a brooder that is safe, warm, and clean. Precision in this setup is crucial for the chicks’ survival and growth.
Choosing the Right Brooder
The brooder should be secure and sturdy, preventing escape or intrusion by predators. Common options include:
- Commercial brooders: Ideal for larger operations.
- Plastic tubs or metal troughs: Suitable for small-scale or backyard chick raisers.
- Modified furniture: Such as old dressers, are cost-effective but require more effort to modify for proper ventilation and access.
Temperature Control
Chicks require a specific range of temperatures in their first few weeks. A heat lamp is typically used to maintain these temperatures, which should be monitored and adjusted as follows:
| Age in Weeks | Temperature Range (°F) |
|---|---|
| 1 | 95-100 |
| 2 | 90-95 |
| 3 | 85-90 |
| 4 | 80-85 |
| 5 | 75-80 |
| 6+ | Room temperature if well feathered |
Bedding Types
Proper bedding is essential for absorbing waste and providing comfort. The most common types of bedding include:
- Pine shavings: Highly absorbent and widely available.
- Straw or hay: Less absorbent and can be dusty, but they are often used.
- Paper: Not recommended as it can be slippery and does not absorb well.
One must avoid cedar shavings as they can be toxic to chicks.
Space Requirements
As chicks grow, their space needs increase. One should provide:
- 1/2 square foot per chick during the first two weeks.
- 1 square foot per chick from weeks 3 to 6.
The brooder area should be expanded as the chicks grow to ensure they have enough space to move around and access food and water without crowding.
Feeding Your Chicks
Proper nutrition is crucial for the healthy growth of chicks from hatch until they are six weeks old. This section details the selection of appropriate feed, establishing a feeding schedule, and the correct placement of water and feeders.
Starter Feed Selection
When raising chicks, the initial feed should be a high-protein starter formula. This feed typically contains 18-22% protein and is necessary for the first six weeks of life. Selection should ensure that the feed is medicated with amprolium to help prevent coccidiosis, a common disease in young chicks. It’s important to choose a crumble form to make it easier for the chicks to eat.
Feeding Schedule
Chicks should have access to feed at all times, as they require constant feeding to support rapid growth. Fill the feeders with just enough feed to last for a day to ensure freshness. Avoid overfilling as it may lead to wastage and spoilage. Replace the feed every morning, and check availability throughout the day to ensure the chicks are not without food.
Water and Feeder Placement
Water and feeder placement is key to prevent contamination and ensure the chicks always have access to clean food and water. Place feeders and waterers at chick height, and adjust them as the chicks grow. Feeders should be:
- Easy to access: Chicks should reach the food without straining.
- Stable: Prevent tipping and the mixing of bedding with the feed.
- Spacious: All chicks should feed at once without crowding.
Position waterers a distance away from feeders to discourage spoilage of feed with water. Clean and refill the water containers with fresh water at least twice a day, and more often if contaminated.
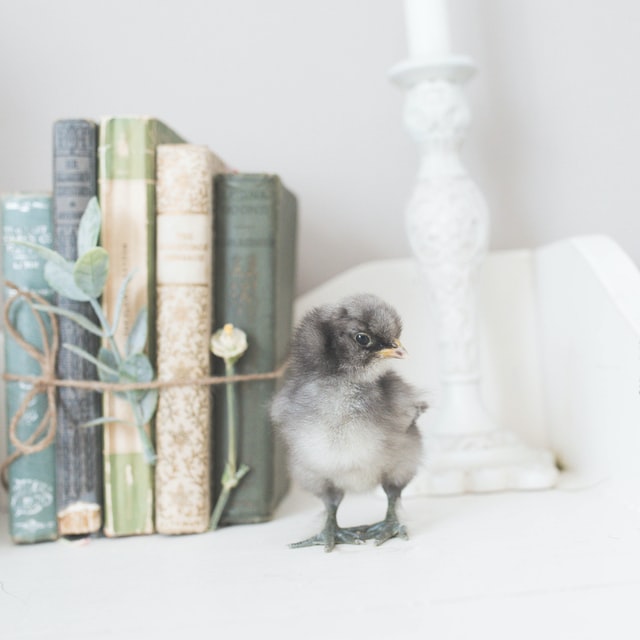
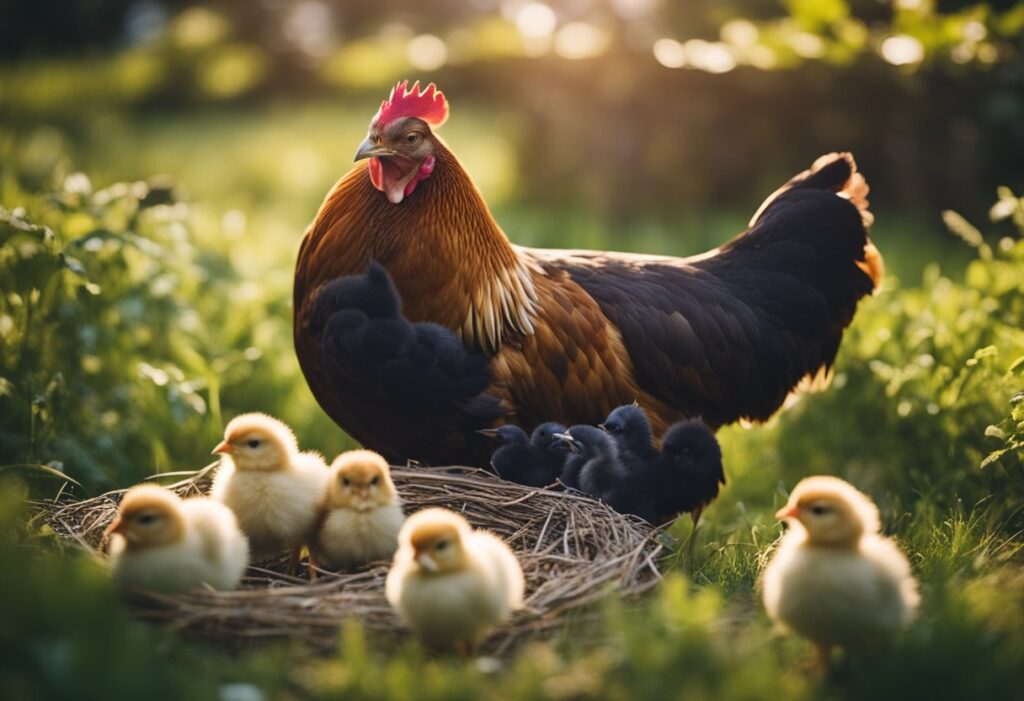
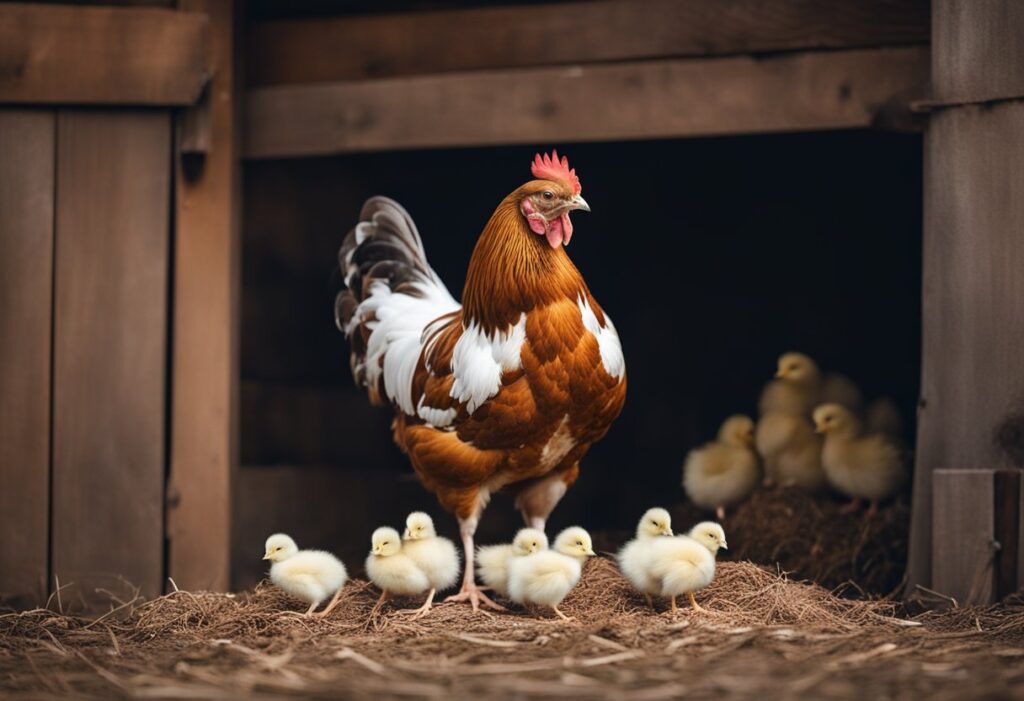
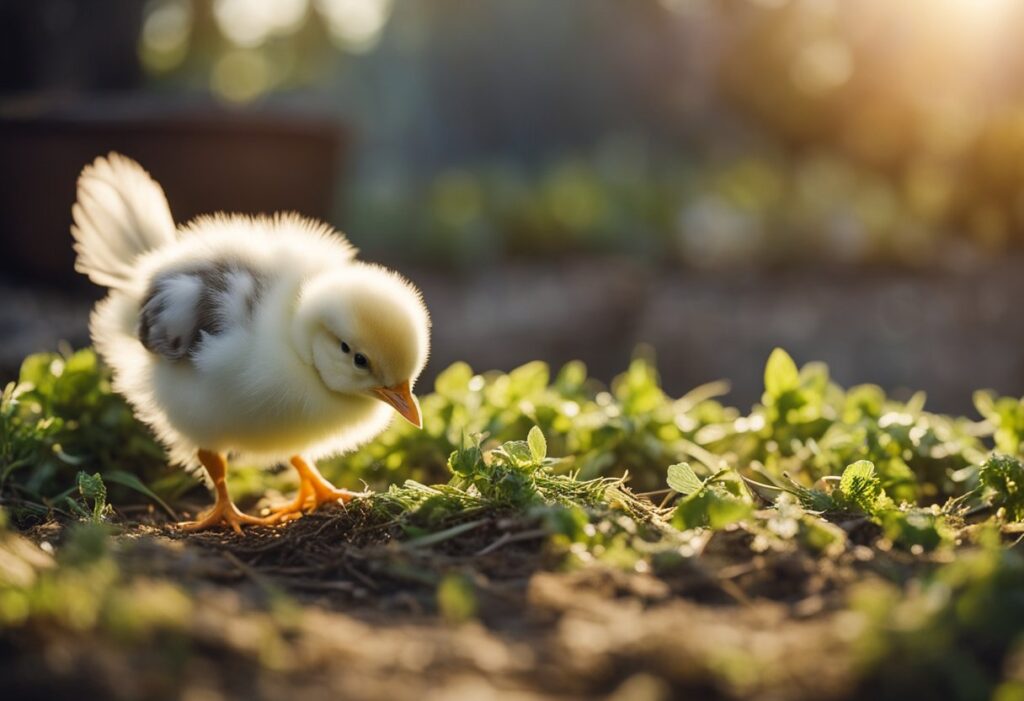
Week 1: Arrival and Acclimation
In the first week of raising chicks, it is crucial to focus on their arrival and acclimation to the new environment. They require a warm and secure area, known as a brooder, to thrive and grow. The temperature within this space should be maintained at approximately 95 degrees Fahrenheit. To monitor this, one should place a thermometer at the chick’s level.
Setting Up the Brooder:
- Heat Source: A heat lamp is commonly used, placed at one end of the brooder to create a temperature gradient.
- Bedding: Pine shavings or a similar substrate should cover the brooder floor to absorb moisture and provide traction.
- Water: Fresh water in a shallow dish, with pebbles or marbles to prevent drowning, must always be accessible.
- Food: Starter feed specifically formulated for chicks should be available at all times.
Acclimation:
Chicks need time to adjust to their surroundings. Observing their behavior can provide cues for their comfort levels:
- If they huddle under the heat source, they are likely cold and the temperature should be increased.
- If they stay away from the heat source and pant, they might be too warm.
- Ideally, they should move freely throughout the brooder, indicating a comfortable temperature.
Health Checks:
One should examine each chick for signs of stress or ill health, such as lethargy or lack of appetite. A healthy chick displays curiosity and an eagerness to eat and drink.
During this initial phase, it’s essential that the caretaker provides a stable environment and observes the chicks regularly to ensure their proper development and comfort.
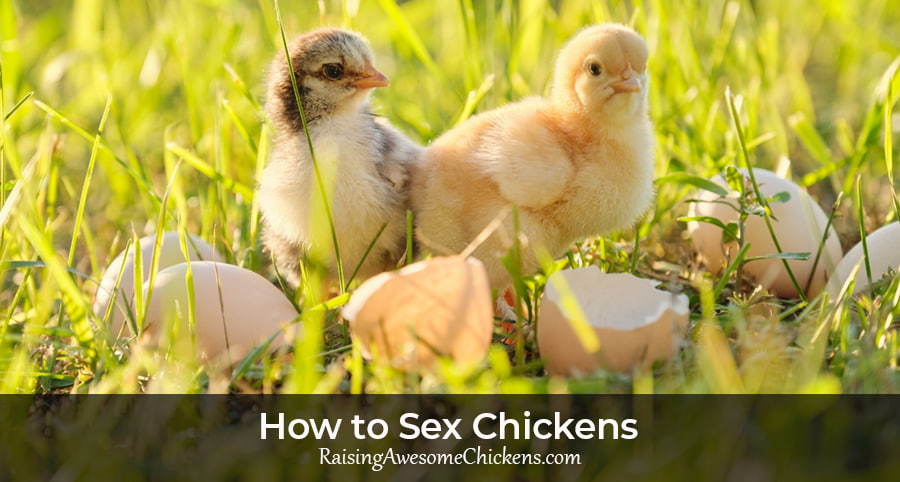
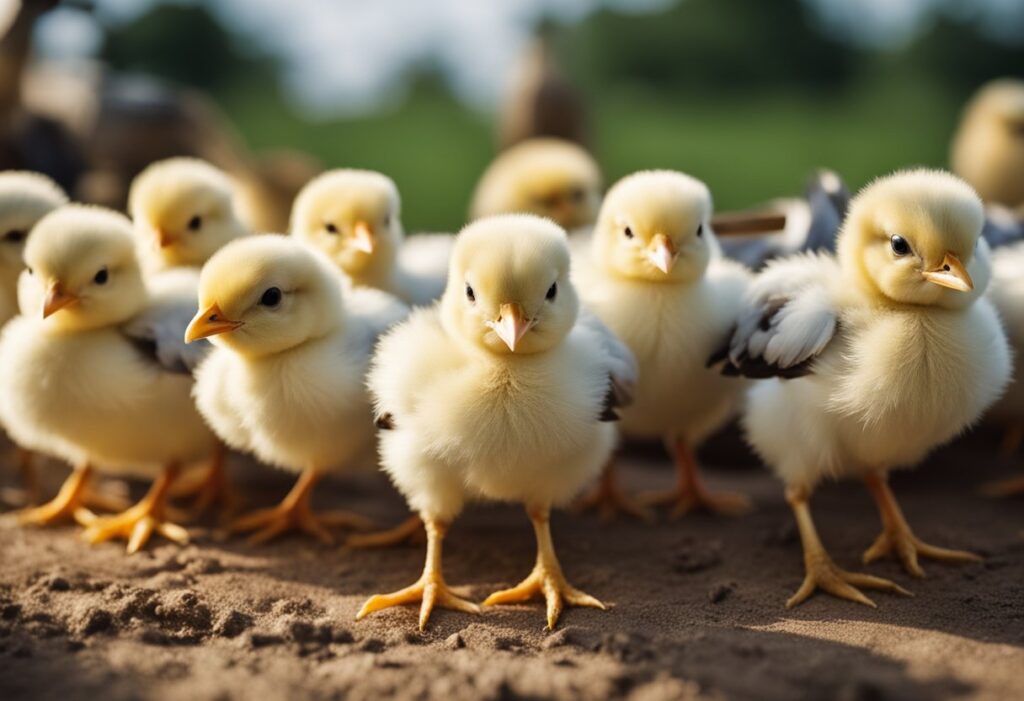
Week 2: Monitoring Growth and Health
At the two-week mark, close attention to the chicks’ growth rates and health status is crucial for ensuring strong development.
Growth Milestones
By the second week, chicks should be noticeably larger. They typically double in weight and show increased feathering on wings and tails. A growth chart can be useful for tracking the progress of each chick.
- Day 8-14 Weight Range:
- Standard Breeds: 120-200 grams
- Bantam Breeds: 75-120 grams
Users should measure the chick’s height and weight to ensure they are within the above range.
Health Observations
Chicks should be active and alert with clear eyes and clean vent areas. Check for any signs of illness or distress, such as lethargy or irregular breathing.
- Signs to look out for:
- Clear Eyes: No discharge or swelling
- Clean Nares (Nostrils): No blockages or discharge
- Vent Area: Clean, without pasting
- Behavior: Active, eating and drinking regularly
Should any abnormal signs be noted, professional veterinary advice is recommended.
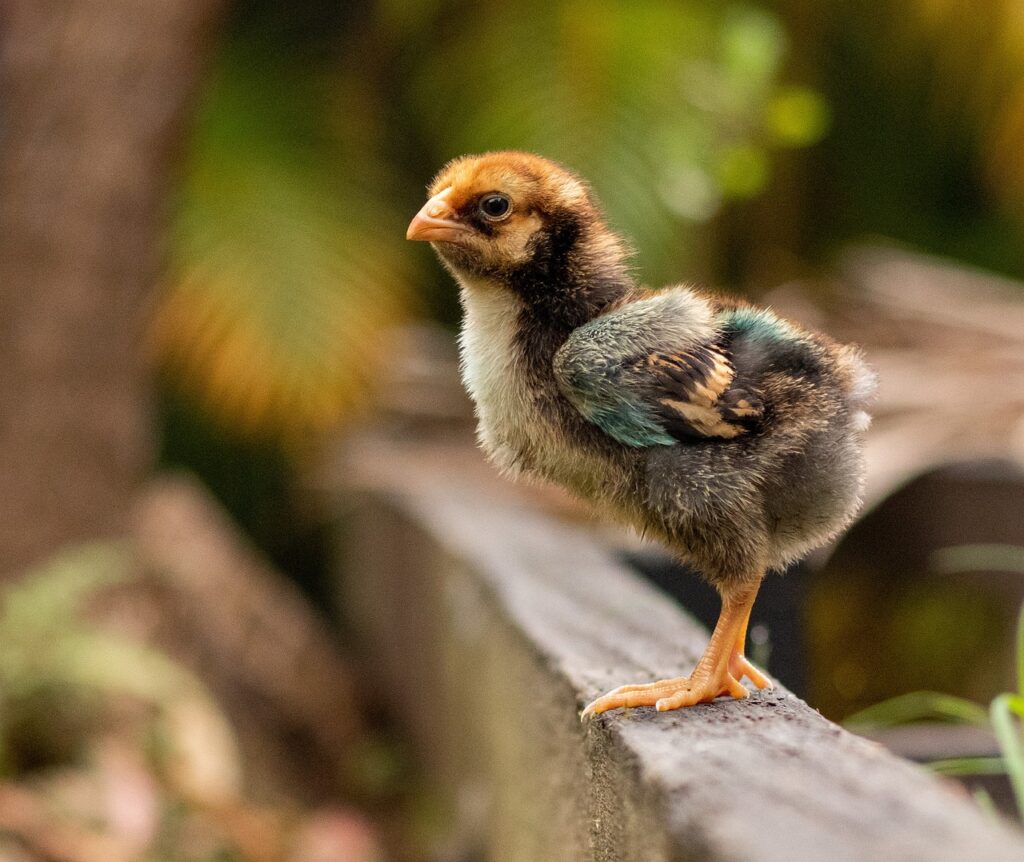
Week 3: Behavior and Environment Adjustments
By the third week, chicks display more complex behaviors, requiring careful socialization and enriched environments to ensure healthy development.
Socialization Techniques
Chicks benefit from regular, gentle handling to become accustomed to human interaction. This can be as simple as holding the chicks several times a day and stroking them softly to reduce fearfulness. Introductions to other pets should be done cautiously to prevent stress or injury. Structured exposure to different people, though non-stressful, helps to socialize chicks to various handlers. It’s important to observe their responses and retreat if they exhibit signs of distress.
Environmental Enrichment
Environmental enrichment is crucial for the chick’s physical and mental development. By the third week, chicks require:
- Increased Space: Upgrade their living space to allow more room for exploration and exercise.
- Varied Terrain: Introduce items such as perches or low ramps to encourage natural behaviors like perching and climbing.
- New Textures: Add different materials like cloth, soft brushes, or hay to stimulate their sense of touch.
To ensure that changes are beneficial, closely monitor their interaction with new stimuli and make adjustments as needed. The table below simplifies the environmental enhancements for week three:
| Enhancement | Purpose | Implementation |
|---|---|---|
| Expanded living space | Prevent overcrowding and allow exercise | Increase brooder size |
| Perches and ramps | Encourage perching/climbing activities | Introduce low, stable structures |
| Varied materials | Texture exploration and comfort | Provide a mix of soft and firm surfaces |
Week 4-5: Preparing for Transition
During weeks four and five, chicks are getting ready to shift from a temperature-controlled environment to a more natural one. The focus in this period is on monitoring feather growth and adjusting the temperature gradually to help them acclimatize.
Feather Development
By the fourth week, chicks will have grown a greater amount of feathers, which are essential for thermoregulation. Observation is key; check that the wing feathers cover most of the wing and that the body is evenly covered with new feathers. This development indicates readiness for lower temperatures.
Gradual Temperature Reduction
Chicks require less supplemental heat as they grow. The brooder temperature should be reduced by 5 degrees each week until it matches the outside temperature. Use a thermometer to monitor the brooder temperature accurately and adjust the heat source accordingly.
- Week 4: Maintain a brooder temperature of around 75°F.
- Week 5: Decrease it further to 70°F.
Ensure that chicks exhibit normal behavior patterns such as active feeding and consistent movement when the temperature is lowered.
Week 6: Vaccination and Health Check
At week 6, chicks require specific vaccinations to prevent disease and a thorough health check to ensure they are developing properly.
Vaccination Schedule
Chicks typically receive the Marek’s Disease vaccine upon hatching. By the sixth week, they should receive vaccinations for common diseases such as:
- Newcastle Disease: Administered via drinking water or nasal spray.
- Infectious Bronchitis: Delivered through eye drops or nasal spray.
Vaccination Tip: Always follow the vaccine manufacturer’s instructions for the proper administration and handling of vaccines.
Identifying Signs of Illness
Regular observation is crucial to identify any health issues early. Be aware of signs such as:
- Lethargy: Chicks are less active and appear drowsy.
- Appetite Loss: They eat less than usual.
- Respiratory Symptoms: Sneezing, coughing, or labored breathing.
- Abnormal Droppings: Changes in color, consistency, or frequency.
If these signs are present, consult a veterinarian. Good hygiene and proper care are the best preventive measures against sickness.
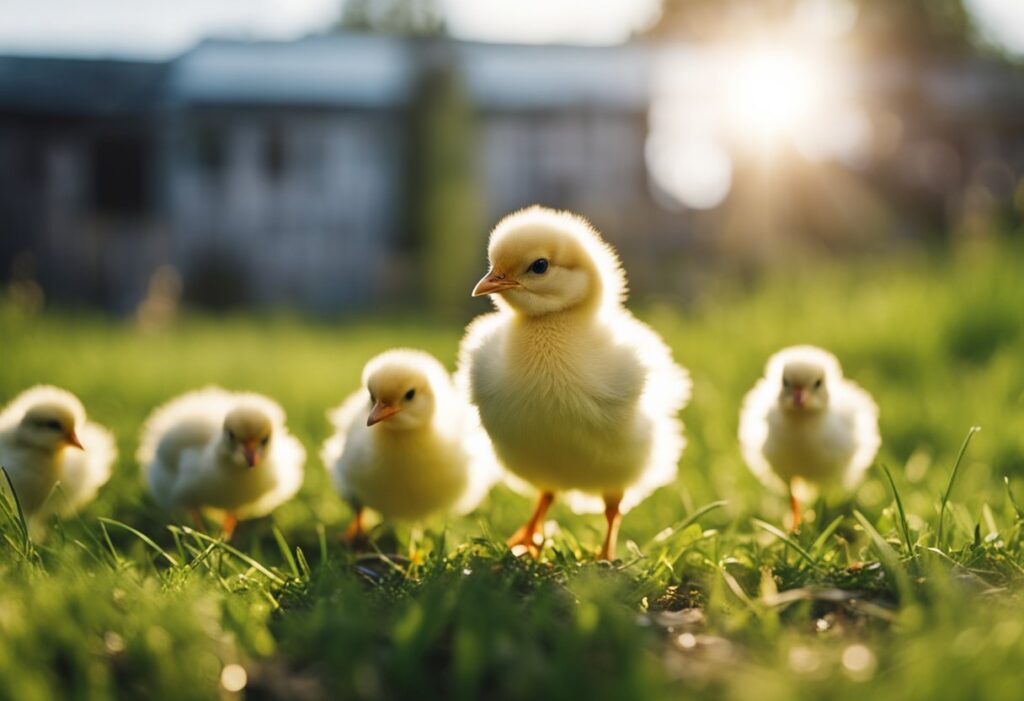
Week 7-8: Outdoor Acclimation
At this stage, chicks need careful exposure to the outside environment to adapt to varying temperatures and settings they will encounter as adult chickens.
Introducing to the Outdoors
In weeks 7 to 8, gradually introduce chicks to the outdoors to acclimate them to new temperatures and daylight patterns. Start with short supervised sessions in an enclosed space to prevent them from wandering too far or encountering dangers. Ensure the outdoor temperature is above 65 degrees Fahrenheit, as chicks are still developing their full feathering and cannot regulate their body temperature well. Use a penned area with both shaded and sunny spots, allowing chicks to self-regulate their comfort level.
- Duration: Begin with 15-30 minutes per session.
- Frequency: Once a day, ideally during warm and dry parts of the day.
- Comfort: Provide a temporary shelter in the outdoor pen for protection against wind and direct sun.
Protecting from Predators
Chicks are vulnerable to predators; thus, it’s crucial to implement security measures. The outdoor pen must have secure fencing, and it is advisable to cover the top to prevent attacks from aerial predators.
- Fencing: Use hardware cloth or chicken wire with small enough gaps to prevent predators from reaching in.
- Check: Inspect the pen regularly for holes or weak points.
- Vigilance: Always supervise outdoor time until the chicks are fully accustomed and the pen has been verified secure.
Long-Term Care Planning
Effective long-term care planning is essential to ensure that chicks develop into healthy, productive adult chickens. This involves preparing their living environment, adapting their diet as they grow, and getting ready for their egg-laying phase.
Coop Readiness
By six weeks, chicks will need a secure coop that protects them from predators and harsh weather. A standard rule is to provide at least 3 square feet per chicken inside the coop and 8-10 square feet per chicken in an outside run. Ventilation is critical to prevent respiratory issues, so ensure the coop has adequate airflow without creating drafts. Coop essentials include:
- Nesting boxes (1 per 4-5 hens)
- Roosting bars
- Access to clean water and feeder space
Nutritional Adjustments
As chicks grow, their nutritional needs change. Starter feed should be replaced with grower feed at 6-8 weeks to match their protein and energy requirements. At approximately 18-20 weeks, switch to layer feed which has more calcium, supporting shell formation for eggs. Implement a feeding schedule that reflects their age:
| Age (weeks) | Type of Feed |
|---|---|
| 0-6 | Starter Feed |
| 6-18 | Grower Feed |
| 18+ | Layer Feed |
Laying Age Preparation
Chickens typically begin laying eggs around 18-22 weeks of age. To support healthy laying habits, introduce granulated oyster shell as a calcium supplement alongside their regular feed. Ensure that the nesting boxes are clean, have soft bedding, and are in a quiet, darkened area of the coop. These will maximize laying productivity and ensure the safety and comfort of the hens as they lay.